|
0 Comments
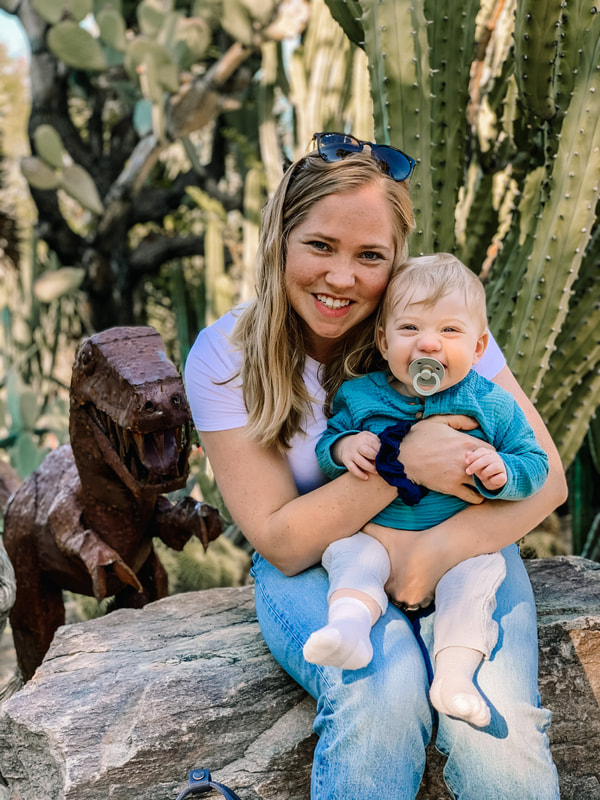
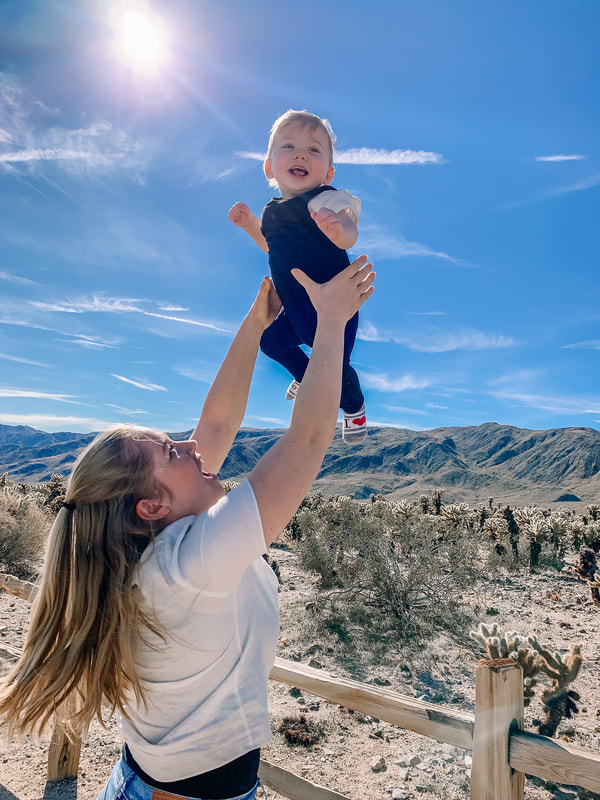
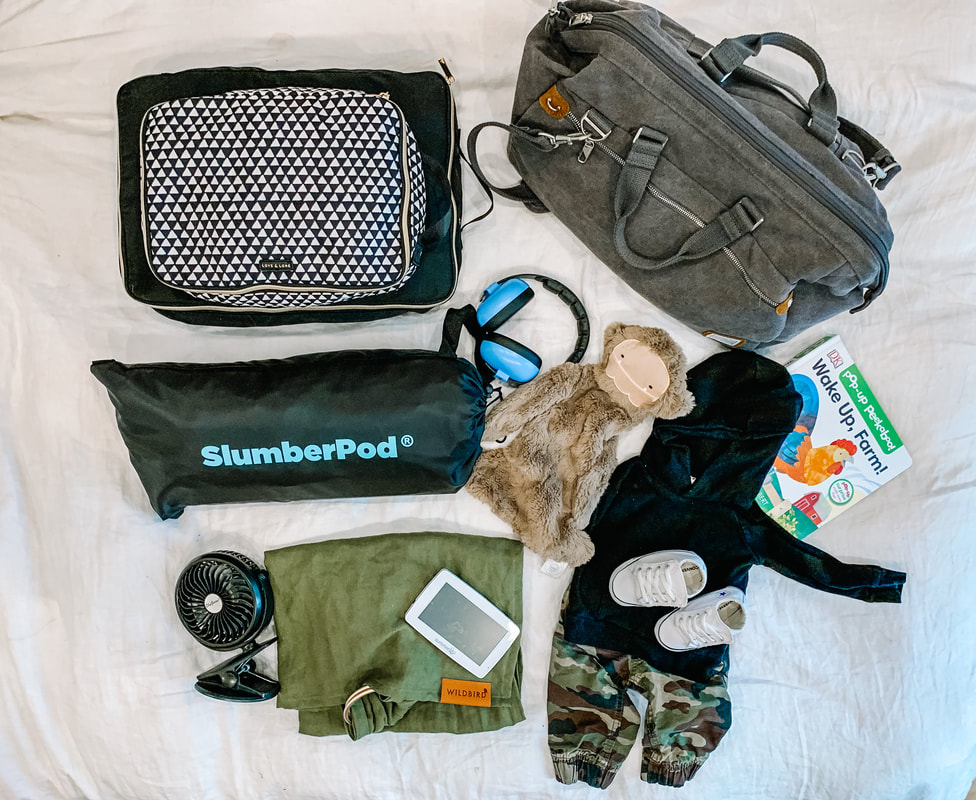
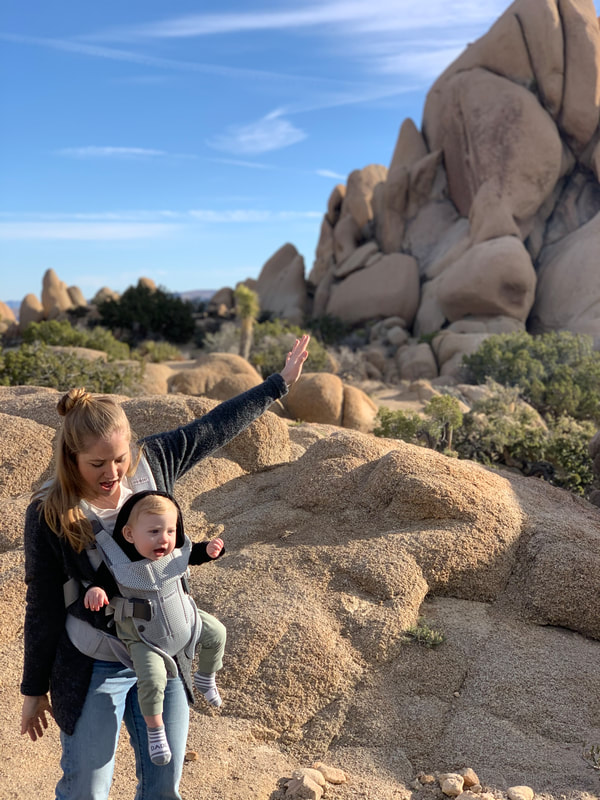
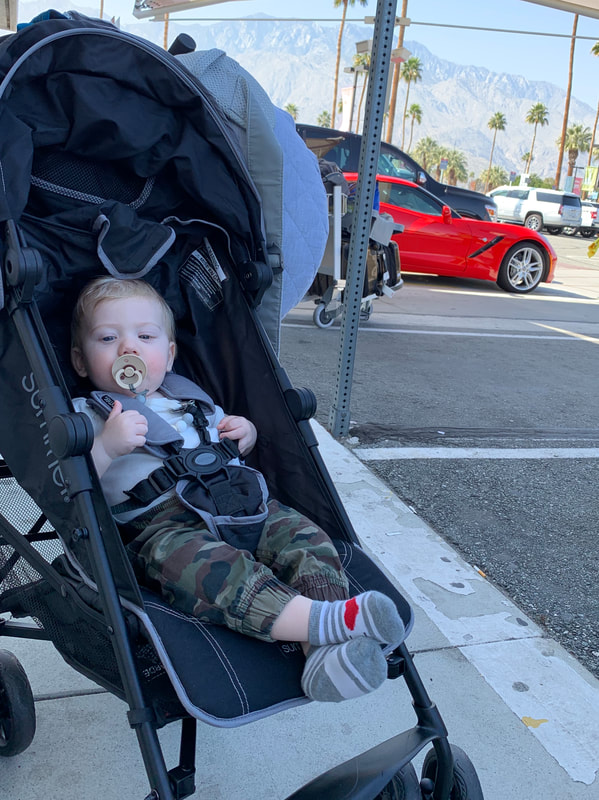
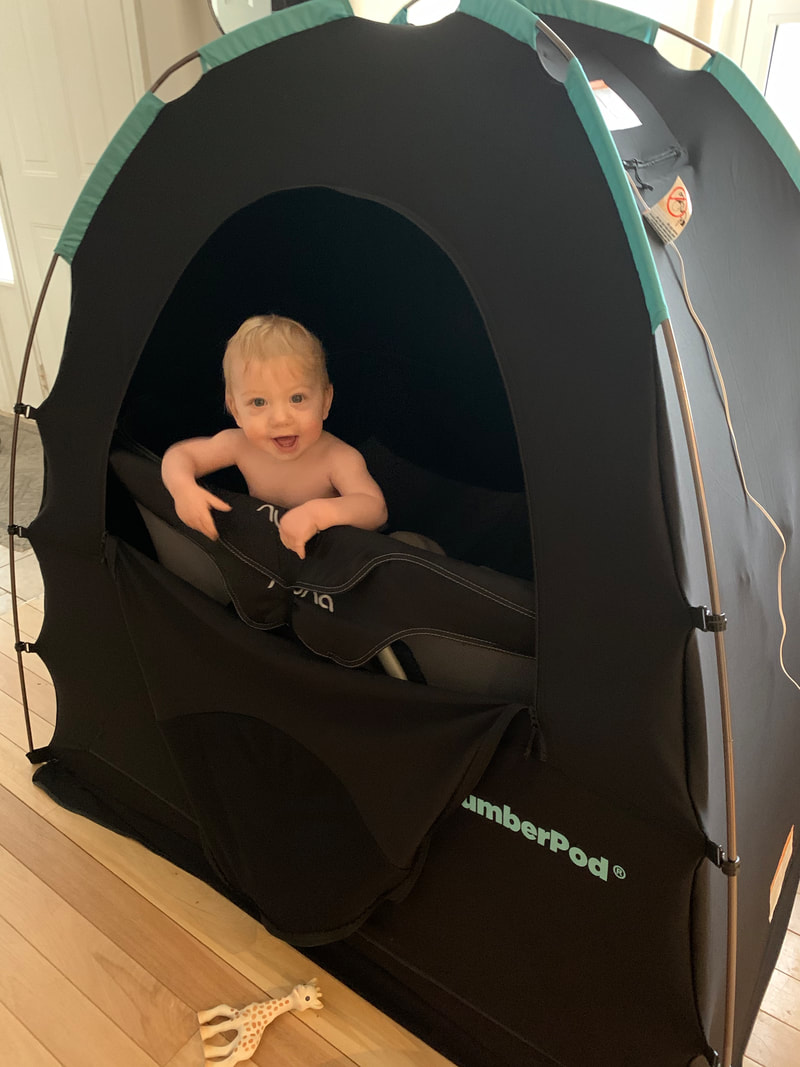
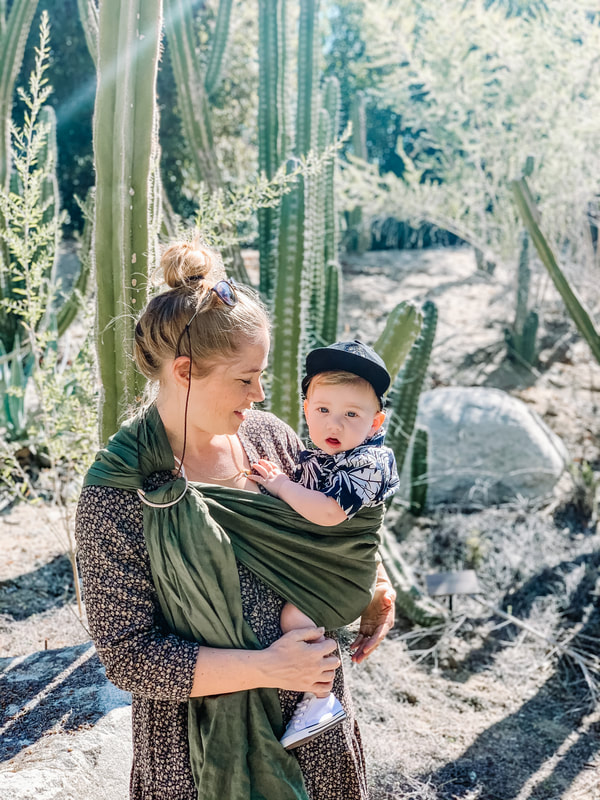
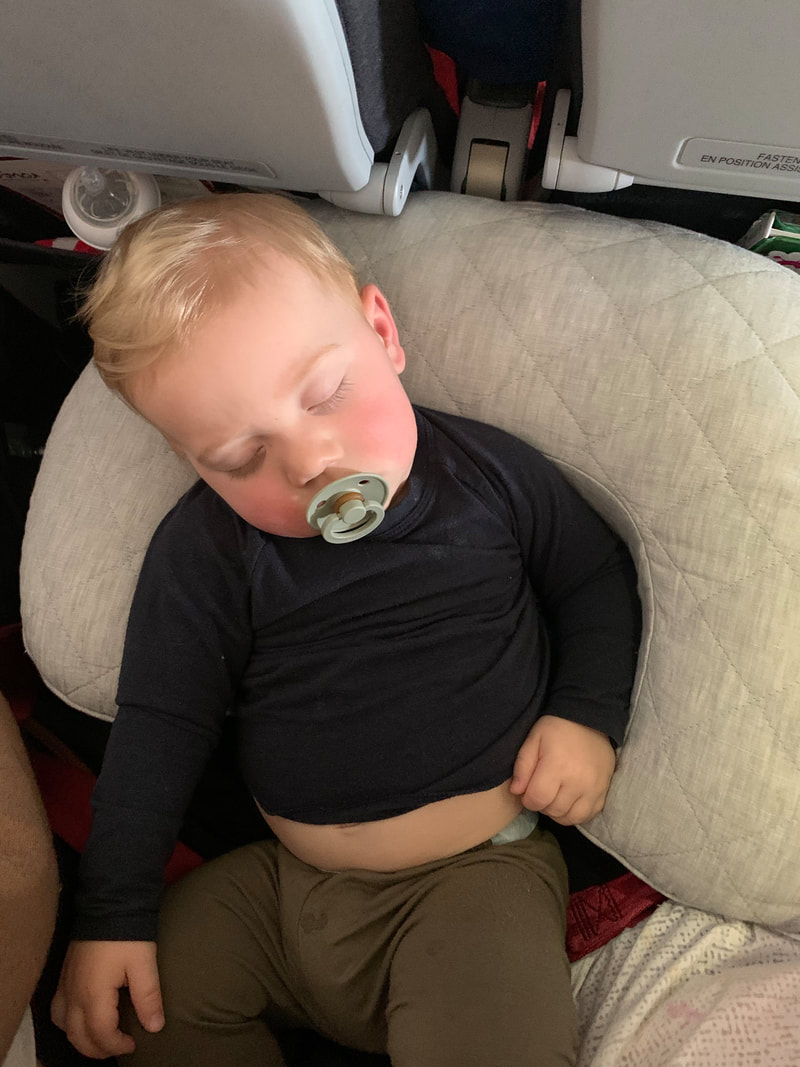
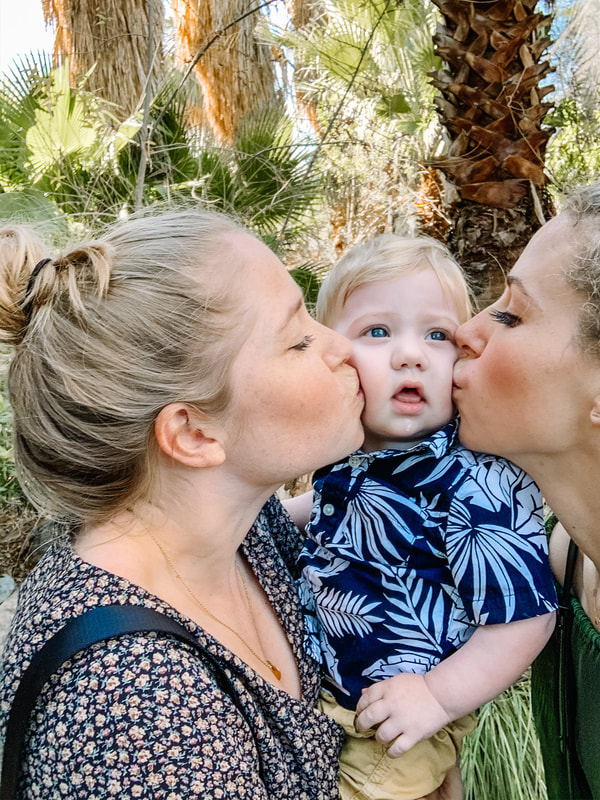
Thinking about traveling with a baby made me anxious, and the thought of traveling without my husband and my baby was a definite NO. But when I had the opportunity to meet my family in Palm Desert, all of my friends convinced me that I had to jump at the opportunity. Thank goodness I listen to them. I have always loved traveling, and during my 20's I went to as many places as I could. Having a baby shouldn't limit me to this, and I had to get over my fears. So here are a few things I learned on my first trip with Liam. I will link all of the items at the bottom of the blog! Also, make sure to pack an extra set of clothes for you as well as the baby. You never know when you will get spit up, milk, food or all of the above on you! 1. BOOKING YOUR FLIGHT: This was something we had to learn the hard way. When you are travelling with an infant they NEED a boarding pass. When you book your flight you need to indicate you are traveling with an infant, and when you are getting your boarding pass at the airport, make sure you have one for your baby. If you don't you will not be allowed on the plane! 2. CARRY ON: I personally always travel with a carry on, because if our bags to were get lost I would at least have a few things to survive a few days. I made sure to have all of the necessities on me; diapers, wipes, socks, onesies, bottles, soothers, a book, etc. I also packed a few toys and things to help keep him occupied on the flight. I went to the dollar store and picked up a few items he had never seen before; stickers, a spatula... Also snacks! I made sure to have a few pouches, formula, water already in the bottles (they allow you to bring your own water if it is for a baby). 3.GETTING THROUGH SECURITY: - Carry baby on me: I use the Baby Bjorn One Air and love that he can face forward and watch everyone. It's also super light and breathable - Push your stroller with all of your things on it (carry on bag, breast pillow, etc.) I brought a Summer Infant 3Dlite stroller with me, instead of our Vista and I'm so happy we did. It's a perfect size to travel with and super light. We were also looking at the Babyzen yoyo stroller, which I've heard great things, but the price difference is what sold us on the Summer Infant. - If you choose to use the stroller instead of a carrier keep in mind that when you are going through security they will make you take them out of the stroller, but you can keep them in the carrier. Keep that in mind for naps! - When you are traveling with a baby you can bring as much water as you need, so take advantage! I brought a few water bottles filled that I did use for his bottles, but one was also for me. 4. FAMILY PRIORITY: Once you have checked your bags and you are on your way through security, you can take the "family priority" lane, which is much faster than the other lanes! Make sure to find someone and ask to go through here, especially if you have any liquids you're bringing with you for your baby as they have to check them. 5. CARSEAT: We didn't bring ours with us because I was trying to pack as light as possible, and we were able to rent one when we landed in Palm Springs. If you are bringing your carseat, I would check to see if your flight isn't full and if you can bring it on with you so you don't have the risk of loosing it or it getting damaged. You can also purchase a travel case for it so it will be covered under insurance if anything were to happen to it. 6. TIME CHANGE: The first day for us was a write off. His naps were off, and his sleeping was horrible, but it was a new place and three hours different than home. But once we were able to get into a grove, we mostly took him for walks in the stroller for him to nap, and for bedtime we put the crib in a room and used the Slumberpod to create complete darkness! Having this was a game changer! We were able to put him to bed in the living room, and still have all of the lights on until we went to bed! It's totally a personal preference on how to handle naps and sleeping, as every baby is different! 7. SHOWS/MUSIC: Make sure to have their favourites already downloaded on your phone or iPad. We had Little Baby Bum and his favourite music playlist downloaded so when he started getting really fussy on the plane, we had this ready for backup. 8. CHOOSING A SEAT: This was something I made sure to pay extra for when booking the flight. Liam was 10 months when I flew, and he was very active. So making sure I had an aisle seat was important, as I would be getting up to walk him up and down the aisle as much as possible. This way I didn't have to disturb people constantly with him wanting to get up and move around. ** If you are traveling with someone else, try and book the aisle and the window seat, because a lot of the time people won't choose to sit in the middle seat and you can have the whole row to yourself! Score! 9. BOARD EARLY: When traveling with a baby you get prioroty boarding, take advantage of this! It does mean you are on the plane for longer, but you will be able to get yourself organized and put things away before everyone else is on the plane and waiting for you. Also gives you an opportunity to wipe down all of the surfaces your baby will be touching with wipes to get rid of any germs left behind. 10. BASSINET: When you check-in, or sometimes when you are booking your flight you have the option of asking for the bassinet. There are only a few and sometimes only one of these available on each flight, so if you know your baby could sleep on the plane, ask for this! They move you to an exit row and fasten the bassinet to the wall. 11.NOISE CANCELING HEADPHONES: These came in really handy when Liam was napping on the go- airplane, on walks. The announcements on the airplane are usually really loud, so if your baby is already sleeping these are great for helping with not waking them up. We used babybanz 12. DISINFECT: As soon as we boarded the plane I use Lysol wipes to wipe everything down. Liam is at the age of putting everything in his mouth, and planes are notorious for germs. 13. TAKE OFF/LANDING: We had a bottle ready for him for take off and landing to help with his ears popping. I filled a few bottles with water in them, and portioned off the formula before I left so it was easy to make while on the plane. 14. BREAST PILLOW: This was something that I thought about leaving at home because of how awkward it was to carry..but thank goodness I didn't because it was by far the best thing I brought on the plane with me! He slept on it both ways, and I was able to have my hands free at the same time! 15. CRIB: The place we were staying was able to provide us with a pack and play, but I was planning on bringing mine with me in my checked luggage. Make sure to call ahead and check if where you're staying has a crib and if they don't, bring a Playard- The Nuna Sena. It packs up really nicely and can be checked in oversized luggage. Also pack a crib sheet! My Packing list:
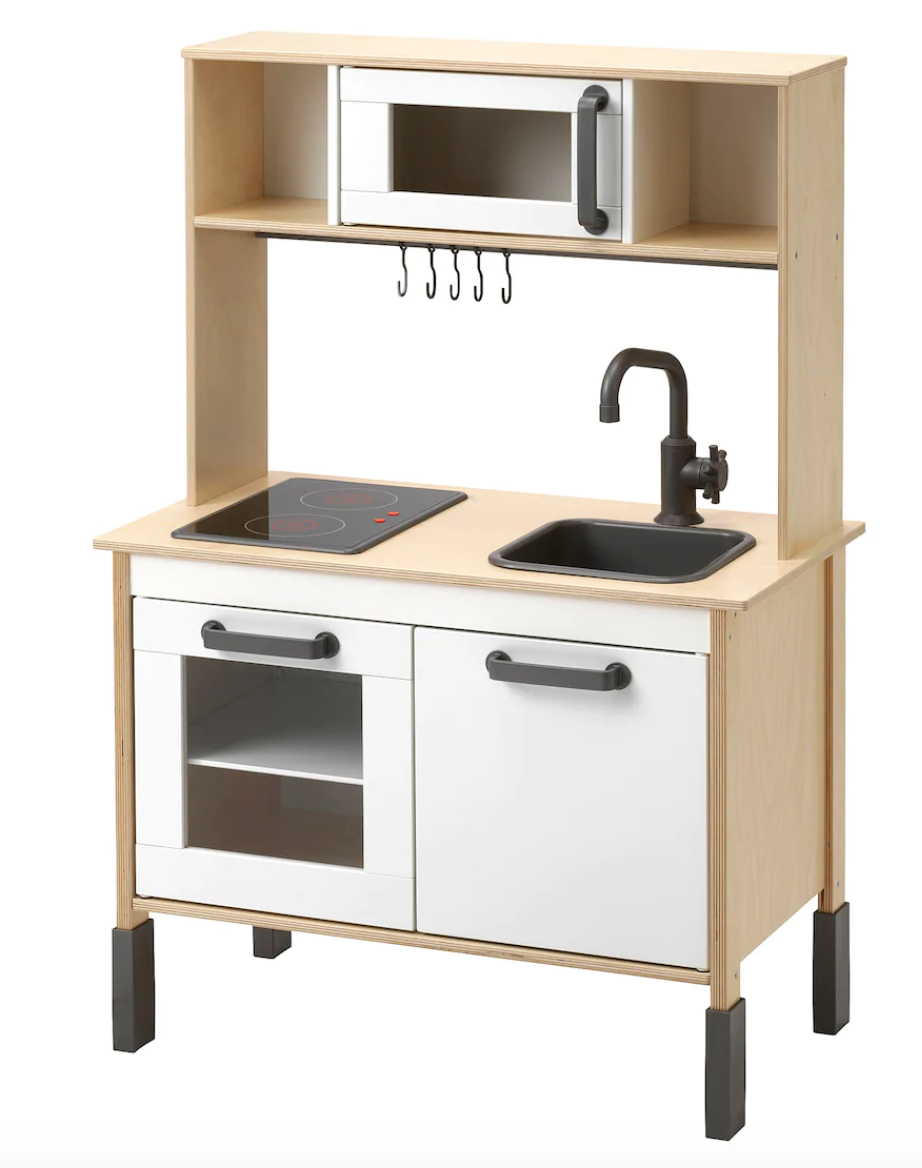
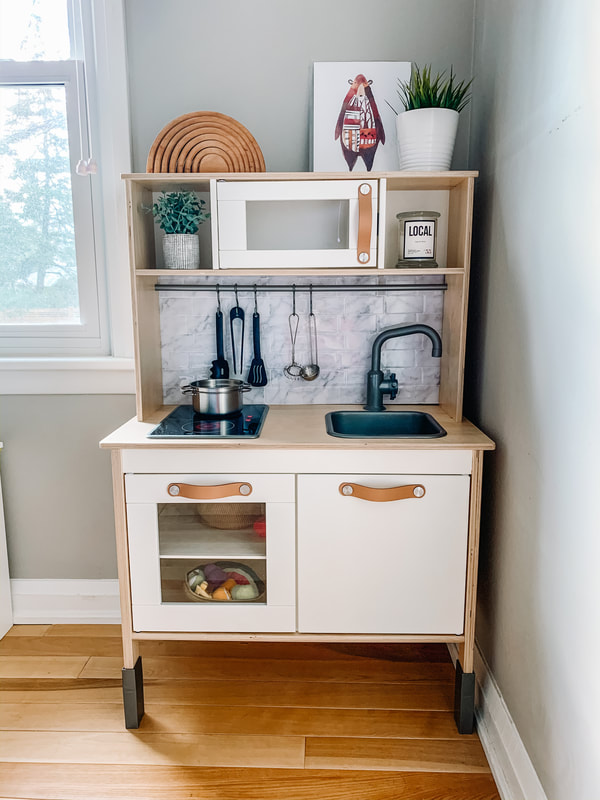
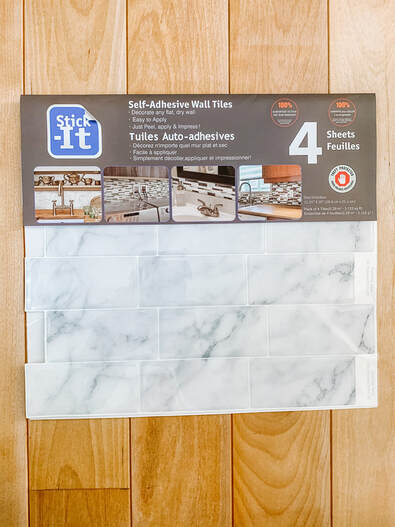
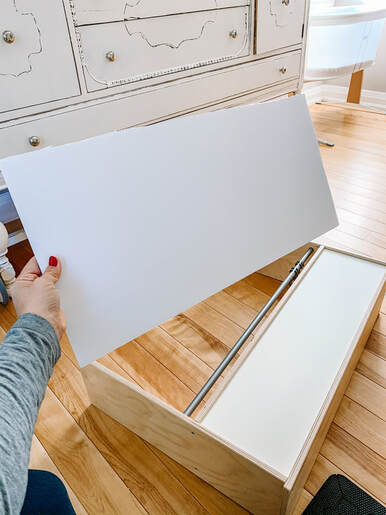
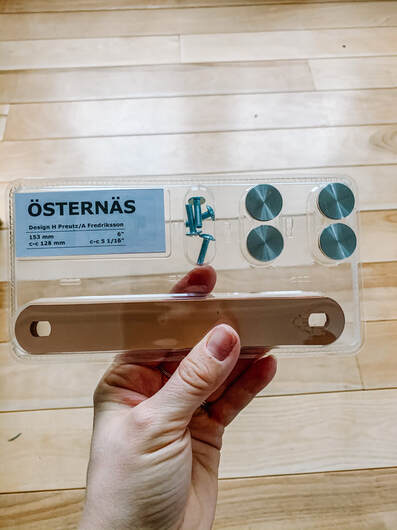
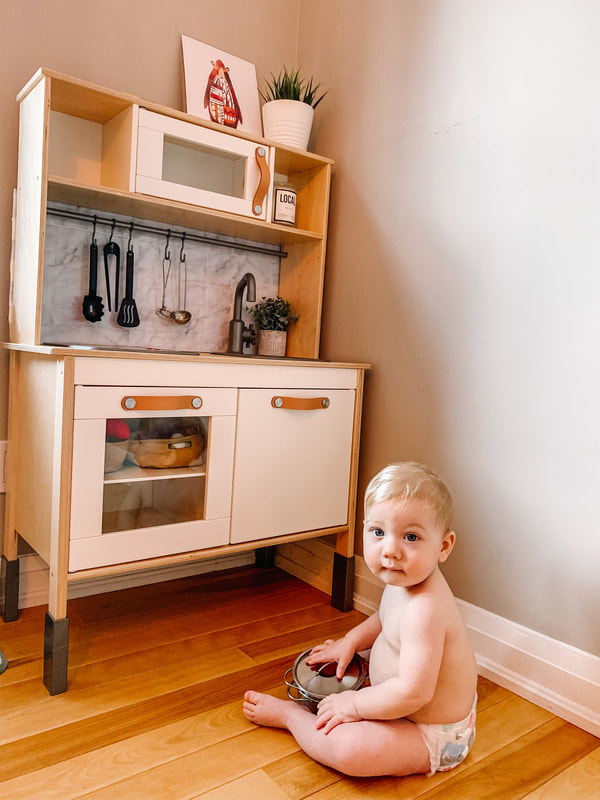
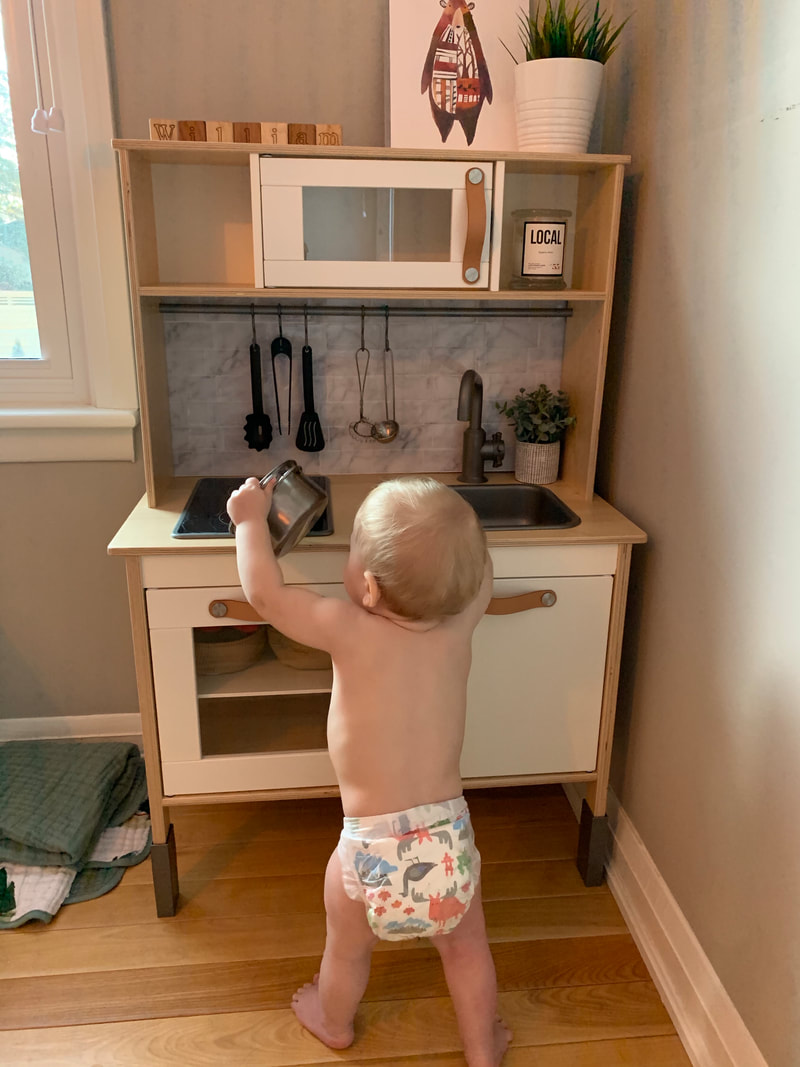
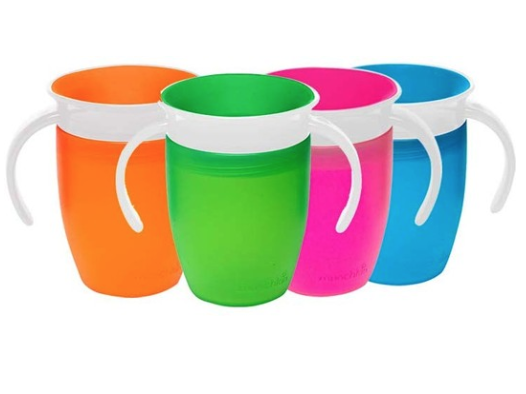
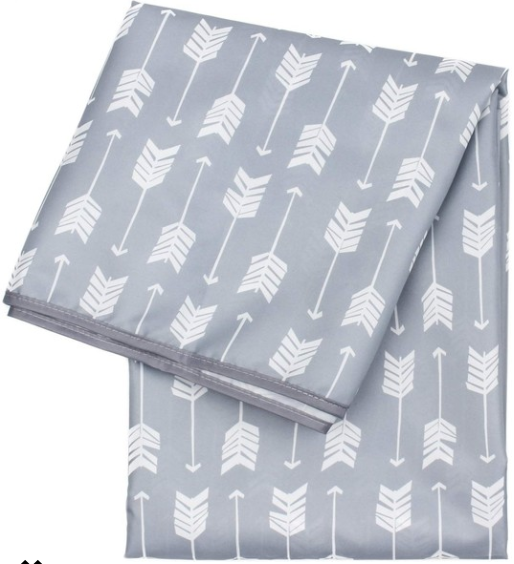
Tylenol ibuprofen thermometer diaper cream bath soap baby lotion nail clippers snot sucker noise canceling head phones soothers bag for dirty clothes or dirty diapers carrier disinfectant wipes rice cereal sunscreen sippy cup Love Child food pouch Puffs Mumums portable noise machine blanket (we used this one to cover the stroller when he was napping) Snapback Hat diapers and swim diapers backpack diaper bag everywhere belt bag (great for keeping your passport and money instead of carrying a purse) Crib sheet Pack-and-play Stroller fan Packing Cubes Travel Stroller (we used this one, but the BabyZen YoYo packs up much smaller and fits in the overhead compartment) As soon as I found out I was pregnant, I went out and bought the Ikea Duktig Play Kitchen. It's a perfect little size for any room, and offers a great canvas for a DIY. Plus, it only costs $99. I finished this project in a day, with no freak outs- which is saying a lot when assembling Ikea furniture. I put Liam in his ball pit and put the entire kitchen together. Then during his nap, I added my personal touches to make it my own. Materials:
Accessories I used to style the kitchen: Instructions: * You can paint the kitchen if you want to. I chose to keep it the original colour, but if you are choosing to paint, I suggest you do this before assembling the kitchen
Ta Da! A beautiful piece of furniture to add a tons of fun for years to come!
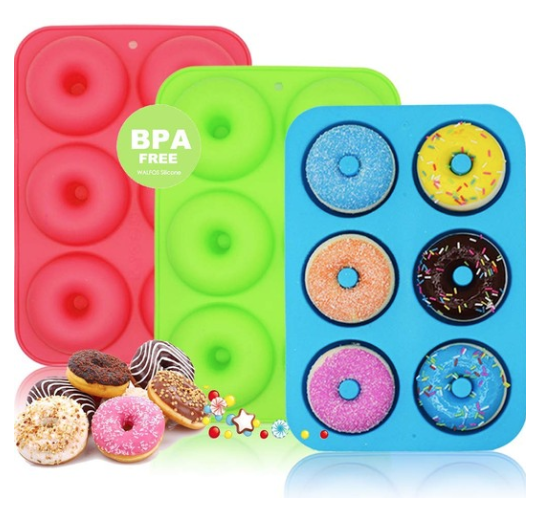
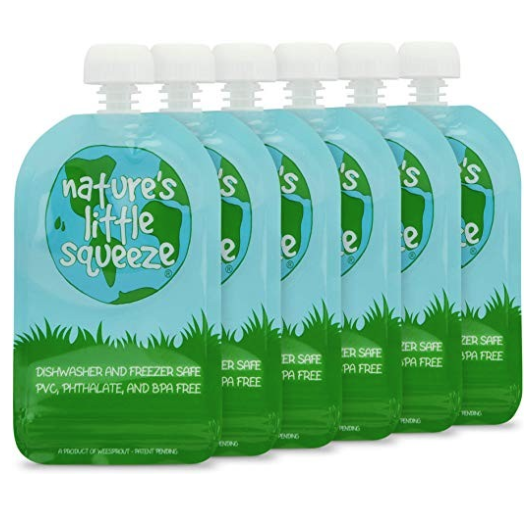
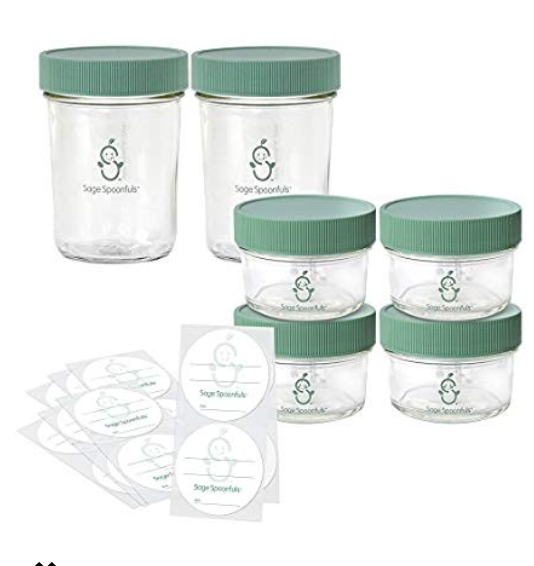
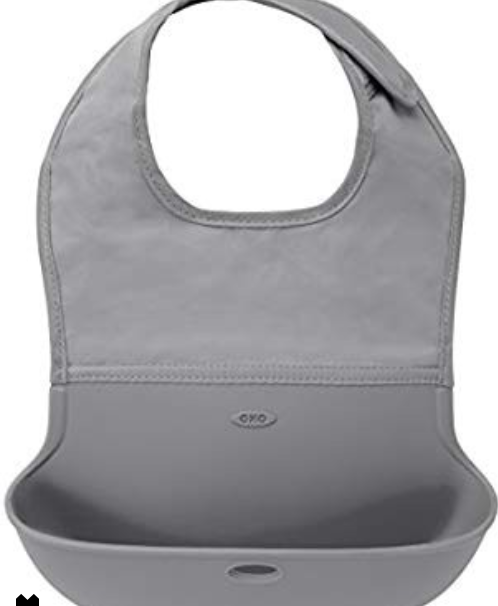
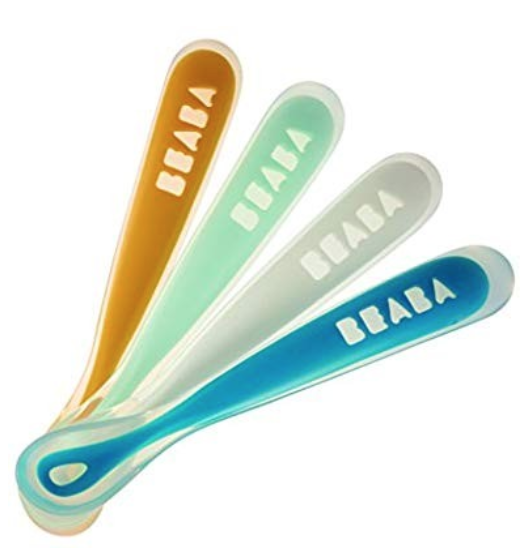
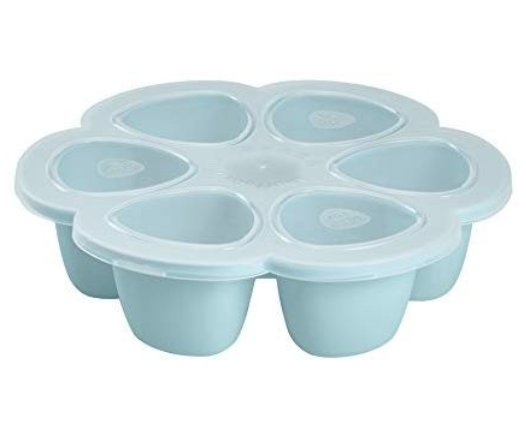
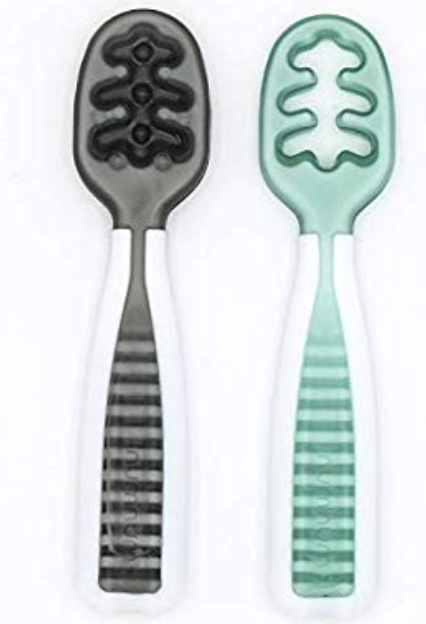
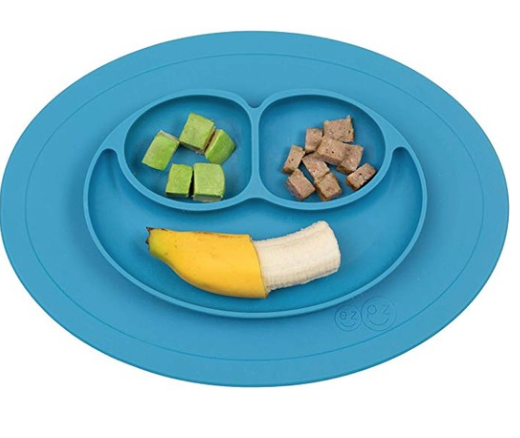
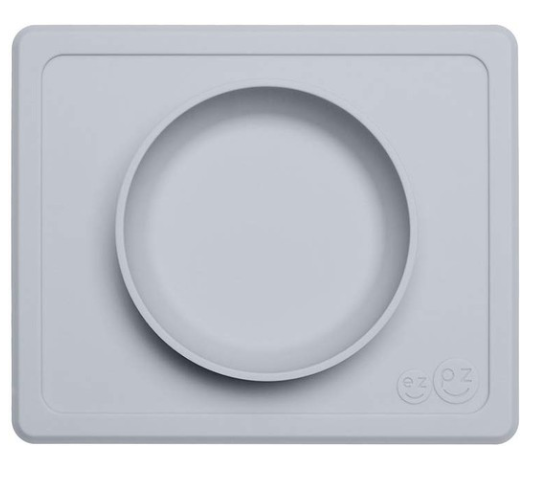
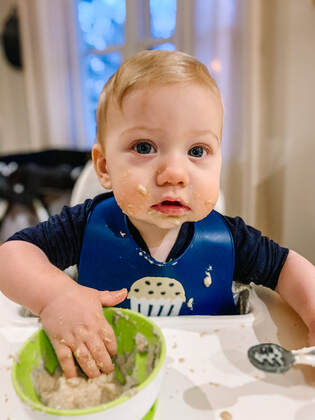 For whatever reason, feeding Liam was and still is the hardest thing for me to feel comfortable with. The fear of choking I don't think will ever go away, but using BLW has helped me understand what I can feed him. I read a lot about this idea before Liam was born, and I thought it was a great way for him to explore eating on his own. Now that I am in the thick of it, I can admit it does sometimes make me nervous when he sticks an entire piece of banana into his mouth, but I'm slowly getting used to the gagging reflex. I recently posted on my Instagram page asking for advice from all of you on what I can do to get Liam to eat things other than fruit, as it is his favourite. I received a lot of advice, and one person sent me to a website with recipes that I am now obsessed with, so I wanted to share! Click here for the link -- this recipe was great, and I loved how she used a donut tray (I've linked one below). Before sharing the pieces of advice which I will do at the end, I wanted to share this e-book with you. It's called "Inspiralized Littles". The E-book is only $5.99 and it goes over What Baby-Led Weaning is, how to start, when you should introduce allergens, how to build a meal, and examples of the author's breakfast, lunch & dinner recipes. I always struggled figuring out what to feed him for each meal of the day, so this e-book has really helped me plan ahead. Click here for the link to the e-book. The author also has her own instagram page @inspiralizedkids where she shows pictures of different meals she is making her child. Now for the other advice I was given through my Instagram Followers: - Eat the food in front of your child, to encourage them that its good! - A few accounts to follow: @kids.eat.in.color , @weanin15_ & @inspiralizedkids , @feedinglittles , @newwaysnutrition - Using black bean and fruits blended together - Continue offering it and try cutting out the sweets - Cover everything in yogurt! - Using fun veggie cutters I have also found it helpful to have a few different tools during this feeding journey that I am going to share with you below. I've attached the links to each item.
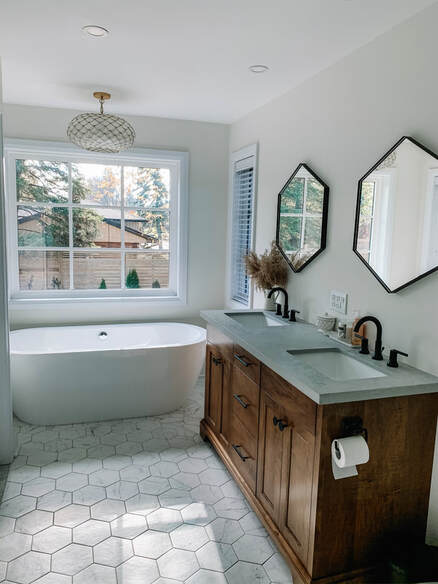
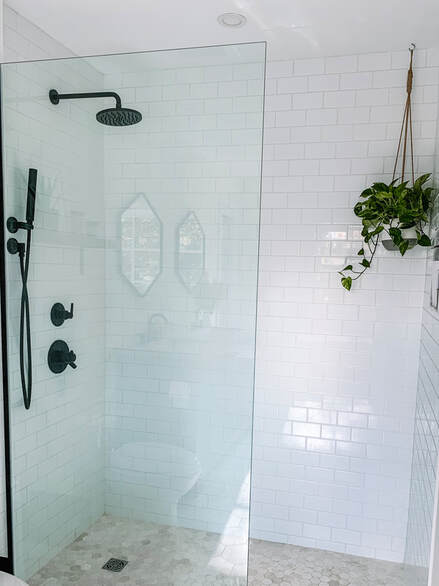
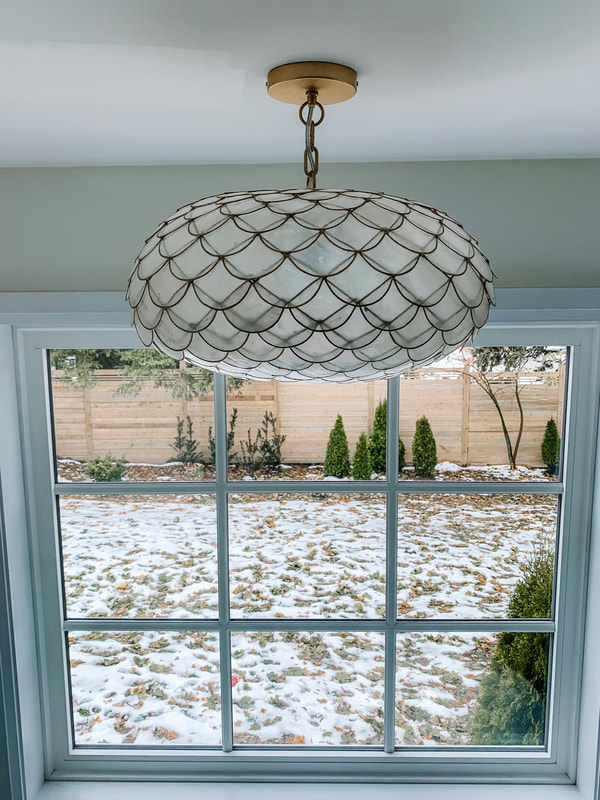
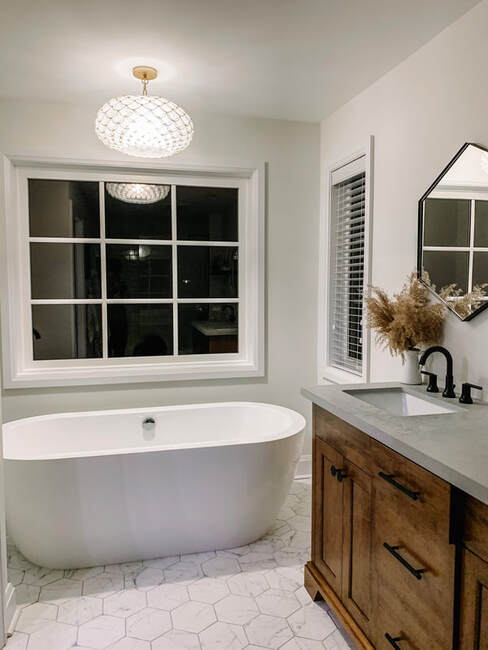
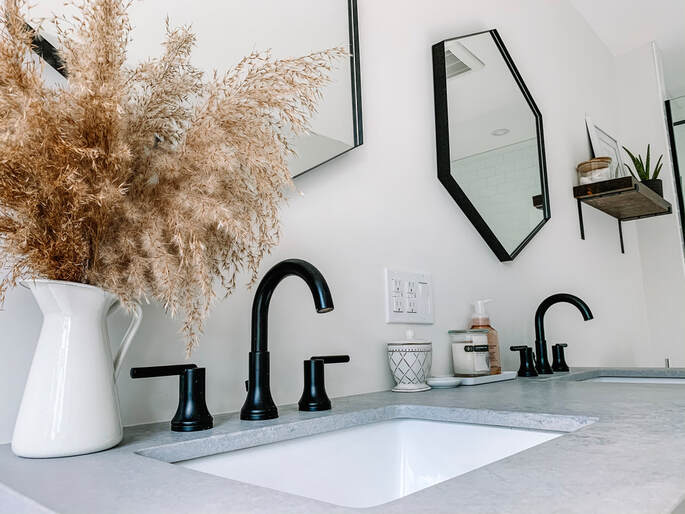
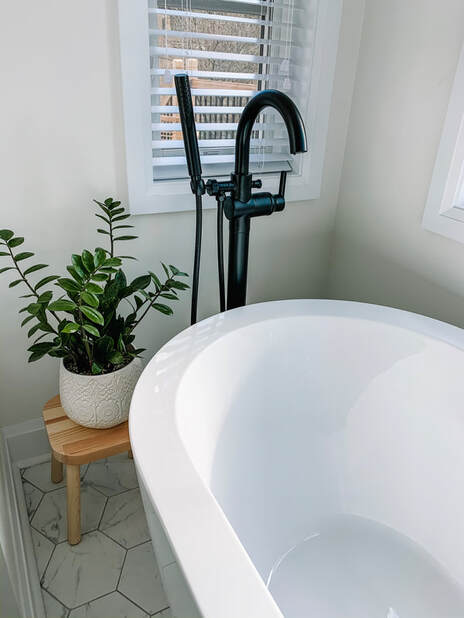
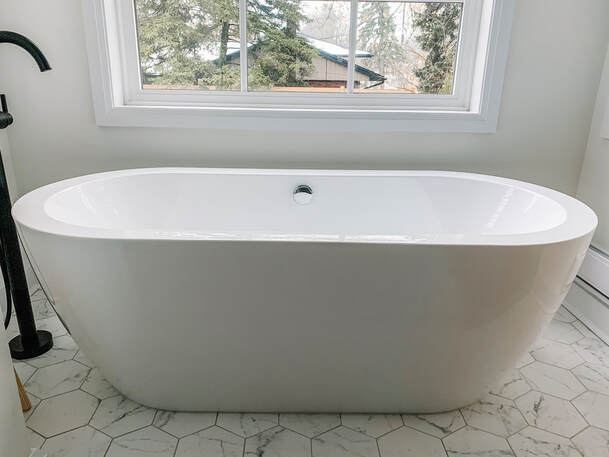
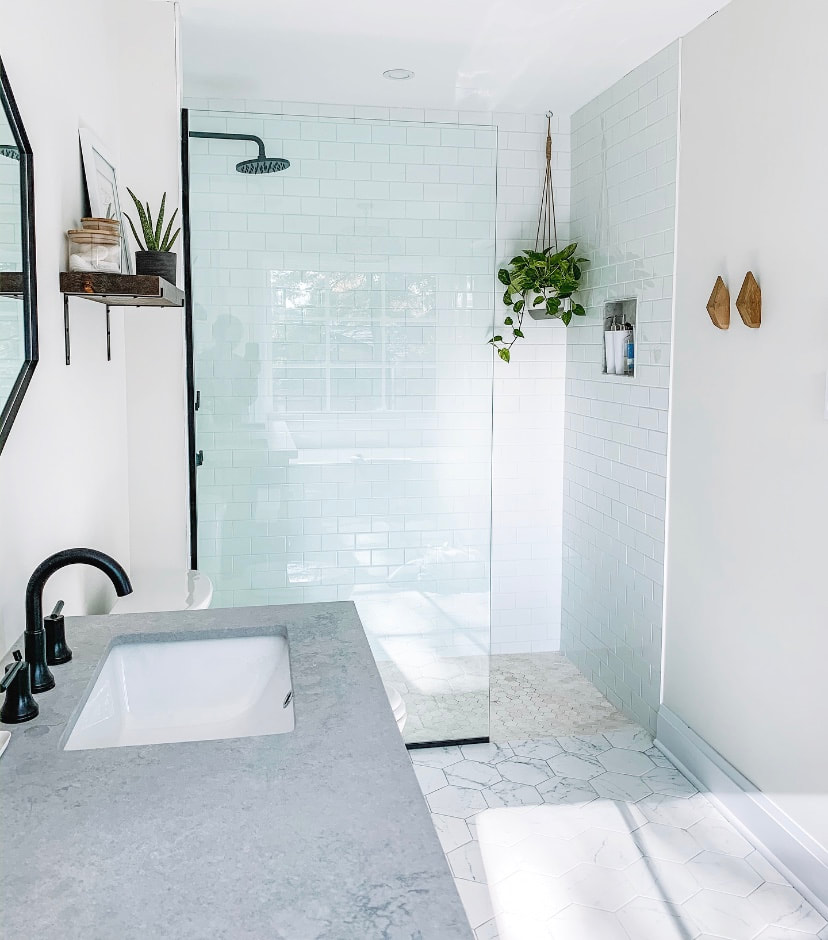
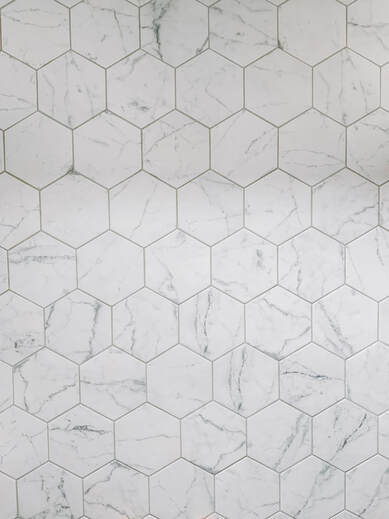
All the details on how we created our dream bathroomWe have lived in our home for the last 3.5 years, and after finding out we were expecting, we realized it was time for a little more space to accommodate our growing family. We began the slow process of applying for permits, getting all our ducks in a row, and FINALLY the renovations started...Three days after Liam was born--not the best timing. Fortunately, my parents live 10 minutes away so we moved in with them while the renovations were underway. One of most exciting and stressful parts of the renovation was being our own designer. We had a vision of what we wanted and checked/rechecked multiple stores to make sure we got it and for a fair price (sometimes to my irritation, my husband is cheap!) light!My favourite piece of the bathroom is this beautiful scalloped chandelier from Serena & Lily. I had seen this light in a few other blog posts and fell in love. It was the first purchase I made for this bathroom, and designed the room around it. It adds the perfect amount of light, and is a focal point above the tub. They are having a Black Friday sale and right now it is 25% off!! Run, don't walk! FaucetsWe decided to go with Delta faucets for both the tub and the sink, and we are so happy with how they looked. My biggest "want" was to have black matte finishes, which at the time was very difficult to find! Luckily, Wayfair and Amazon had a few options for us and we were able to order them online. Here is the link for our sink faucets , our freestanding tub faucet , and our shower faucet and handheld. BathtubI also dreamt about having a stand-alone tub, and we made that happen! We searched for awhile for this piece, as we wanted to make sure it was big enough to fit my husband (who is 6'2). We found one that fit our addition (and him) perfectly! We read online that because the tub was hollow it wouldn't keep the heat in for long and there was a suggestion to insulate it. Acrylic tubs are more cost friendly so buying some moisture resistant insulation worked out great as now when we have a bath the water stays warm the entire time you are in it! There is nothing worse than drawing yourself a bath, and the water getting cold before you even get in! So I would highly recommend doing this if you purchase this tub! (Do not spray foam insulation as apparently it can 'pop' the tub!) tileThe tile was an easy decision for us, as we both were set on hexagon. We wanted most of the bathroom to be white, as the vanity and the faucets were darker. We purchased our tile for the bathroom and the shower from Centura. One of the hardest things about our bathroom that we had to fight for was having a seamless walkthrough to our shower. It was more difficult, and we had to change a few things in order for it to work, including the tile for the floor which we weren't happy about. In the end it all worked out, the water doesn't get past the glass, and it makes the room feel more fluid! product list |
|
